

The Secret to Perfect Embroidery: How to Digitize Photos Correctly
Introduction
Embroidery is more than just stitching—it’s about transforming art into texture, detail, and beauty. Today, technology has given us the ability to take an ordinary photo and convert photo to embroidery pattern, turning it into a stunning design. However, the real magic lies in the digitizing process. Without accurate digitizing, even the most beautiful photo can become unrecognizable once stitched. That’s why understanding The Secret to Perfect Embroidery: How to Digitize Photos Correctly is essential for hobbyists, small business owners, and professional embroiderers alike.
In this article, we’ll explore how to properly digitize photos for embroidery, covering everything from photo selection to stitch types, color matching, and troubleshooting common issues.
What Does It Mean to Digitize a Photo for Embroidery?
Before diving into the “how,” let’s clarify the “what.”
-
Digitizing for embroidery is the process of converting a digital image (like a photo) into an embroidery machine-readable file format (such as DST, PES, JEF, or VP3).
-
This file isn’t just a picture—it contains instructions for your machine, telling it where to stitch, which stitch type to use, and in what order.
-
Proper digitizing ensures your embroidery looks sharp, clean, and professional.
So, when we talk about The Secret to Perfect Embroidery: How to Digitize Photos Correctly, we’re really talking about making sure this conversion process is done with precision.
Why Is Digitizing Photos for Embroidery So Challenging?
Unlike simple logos or text, photos contain countless details, shades, and textures. Here are a few challenges embroiderers face:
-
Too many colors – A single photo can have hundreds of shades, while embroidery machines are limited in thread colors.
-
Fine details – Tiny facial features or backgrounds may not translate well in stitches.
-
Stitch density – Too many stitches in one area can cause thread breaks or fabric puckering.
-
Fabric limitations – Different fabrics require different stitch techniques to hold details.
This is why the right approach is key to success.
The Secret to Perfect Embroidery: How to Digitize Photos Correctly
Now that you understand the basics, let’s walk through the actual steps.
Step 1: Choose the Right Photo
Not every photo will make a good embroidery design. Here’s what to look for:
-
High-resolution images (clear and sharp).
-
Simple backgrounds or easily removable ones.
-
Clear contrasts in facial features or main subjects.
-
Well-lit, natural images rather than dark or blurry photos.
Tip: Portrait-style photos usually work best for embroidery.
Step 2: Edit the Photo Before Digitizing
Before importing your photo into digitizing software, make some basic adjustments:
-
Crop unnecessary background – Focus on the subject.
-
Increase contrast – Helps define features for stitching.
-
Simplify details – Remove elements that won’t translate well in embroidery.
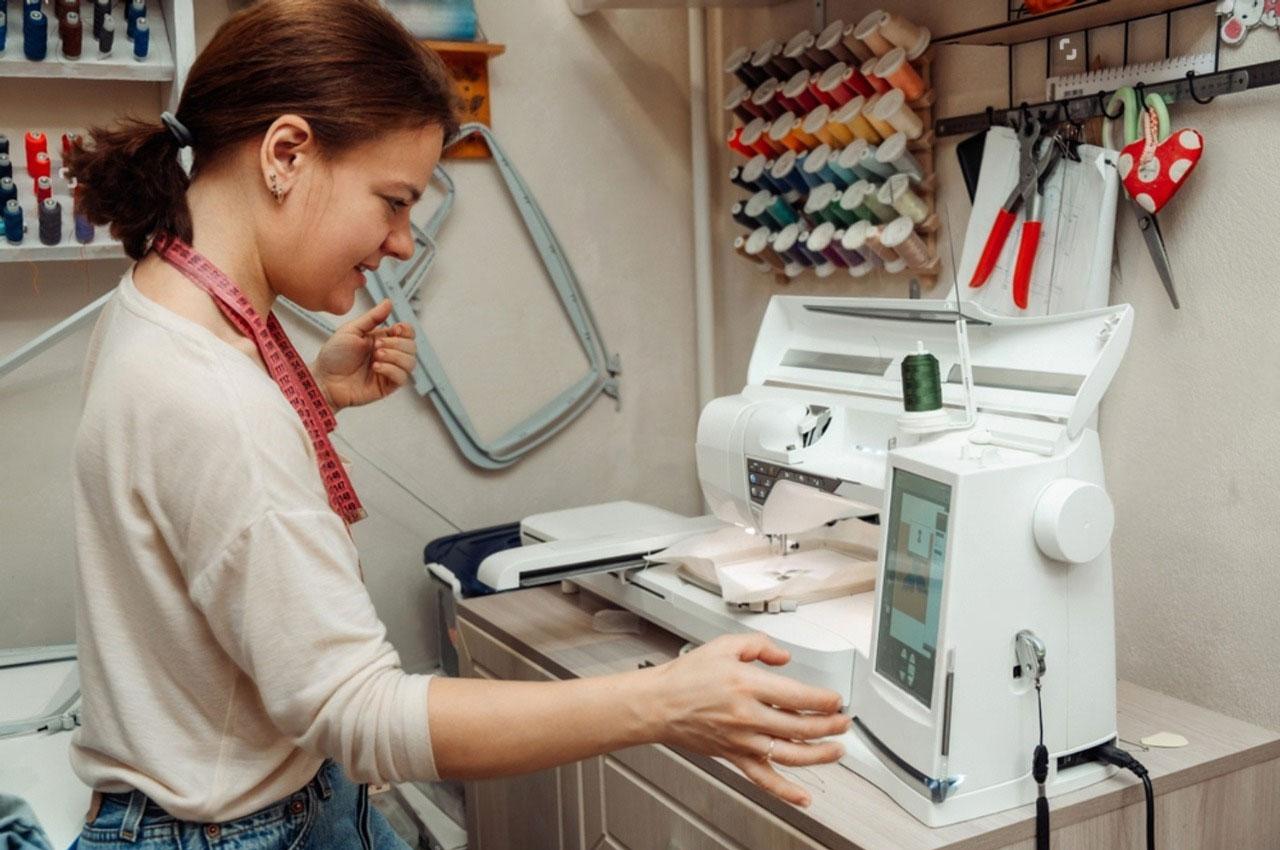
Step 3: Import Into Digitizing Software
This is where the transformation happens. Popular digitizing programs include Wilcom, Hatch, Embrilliance, and Brother PE-Design.
When importing your photo:
-
Choose “photo-to-stitch” or manual digitizing tools depending on software.
-
Break the photo into different stitch areas (face, clothing, background).
-
Assign appropriate stitch types to each part.
Step 4: Select the Right Stitch Types
Stitch types bring the photo to life. Some examples:
-
Satin stitch – Great for borders, outlines, and text.
-
Fill stitch – Covers larger areas like clothing or backgrounds.
-
Running stitch – Useful for fine details such as outlines or shading.
Combining these smartly is The Secret to Perfect Embroidery: How to Digitize Photos Correctly.
Step 5: Match Thread Colors Carefully
Since you can’t use hundreds of colors like in a photo, pick threads wisely.
-
Limit to 6–12 main colors for best results.
-
Use color charts from your thread brand.
-
Test thread combinations to ensure realistic shading.
Step 6: Test on the Right Fabric
Fabric plays a huge role in the outcome.
-
Cotton & polyester – Beginner-friendly and stable.
-
Denim & canvas – Work well for bold designs.
-
Stretch fabrics – Require stabilizers to avoid distortion.
Always test on the fabric before finalizing.
Step 7: Run a Test Stitch
Even professionals don’t get it perfect on the first try.
-
Run a sample embroidery on scrap fabric.
-
Look for missed details, puckering, or misaligned stitches.
-
Adjust density, stitch direction, or thread colors as needed.
Pro Tips for Flawless Photo Digitizing
-
Less is more – Simplify photos for clarity.
-
Focus on the subject – Remove distractions.
-
Use manual digitizing – Auto-convert tools often miss details.
-
Always proof your design – Never skip the test stitch step.
Common Mistakes to Avoid
-
Choosing overly complicated photos.
-
Using too many colors.
-
Ignoring stitch density (leading to puckering).
-
Skipping stabilization for fabrics.
-
Relying only on auto-digitizing features.
The Secret to Perfect Embroidery: How to Digitize Photos Correctly – Final Thoughts
Embroidery digitizing is both an art and a science. The real secret lies in simplifying the photo, choosing the right stitches, and testing carefully before the final run. Whether you’re digitizing a family portrait, a pet photo, or a custom design for a client, following these steps will help you achieve a polished, professional result.
If you’ve ever struggled with photo-based embroidery, now you know The Secret to Perfect Embroidery: How to Digitize Photos Correctly. With patience, practice, and the right tools, your photos can truly come to life in thread.